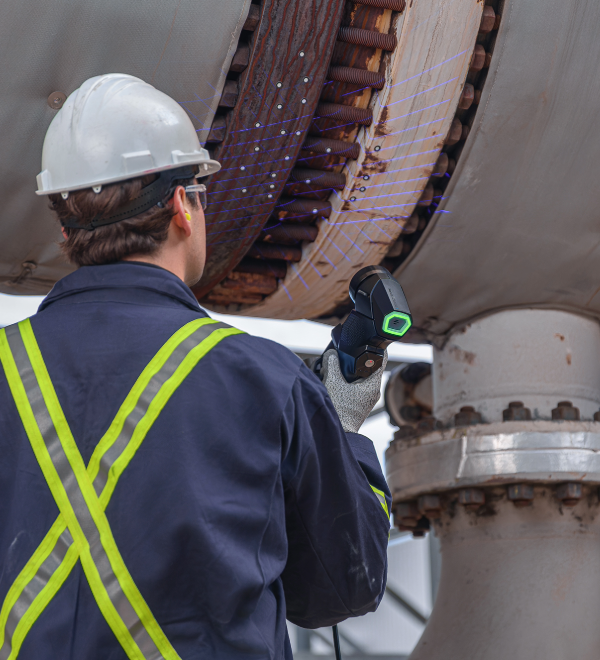
Damage Analysis
The Analysis Toolkit excels in damage analysis, allowing for the inspection of defects such as blends, corrosion, and other similar damages without the need for CAD models. With Creaform 3D technology's accuracy up to 25µm and noiseless 3D scan data, the toolkit ensures precise identification and monitoring of damage progression over time.
Aircraft Blend Inspection
Corrosion Depth Analysis on any Surface
Damage Monitoring Over Time
Depth Grids
Custom and Automated PDF Reports
Dimensional Inspection
For dimensional inspection tasks, the Analysis Toolkit provides robust capabilities for measuring ovality, bend radius, and other critical dimensions. This ensures that components meet stringent specifications and standards—facilitating accurate assessments, quality control, and traceability throughout the inspection process.
Bending Radius
Caliper Measurement Tools
Mesh-to-CAD Comparison
Cross-Section Views and Measurements
Ovality Measurements
Custom and Automated PDF Reports
Bending Radius
Caliper Measurement Tools
Mesh-to-CAD Comparison
Cross-Section Views and Measurements
Ovality Measurements
Custom and Automated PDF Reports
Reverse Engineering and Retro Fitting for Maintenance Applications
Reverse engineering is a critical aspect of the Analysis Toolkit, enabling precise reconstruction of components for further analysis or reproduction. The toolkit's advanced capabilities allow for retro-fitting and comparison against original designs, ensuring accuracy and reliability in the reverse engineering process.
UT Scan Plan Export
Entity Creation for Retro-Fitting Purposes
Cross-Sections
IGES & STEP Export
Direct Transfer to CAD Software (SOLIDWORKS, Inventor, Fusion)
UT Scan Plan Export
Entity Creation for Retro-Fitting Purposes
Cross-Sections
IGES & STEP Export
Direct Transfer to CAD Software (SOLIDWORKS, Inventor, Fusion)
Which 3D scanner is right for you?
Accessories
Extend the power of your inspection process
Reference arrows
No need for alignment, ready for reporting

Want to try the best NDT analysis toolkit on the market?
Contact us now for a free trial version of the perfect NDT solution adapted to your needs.


