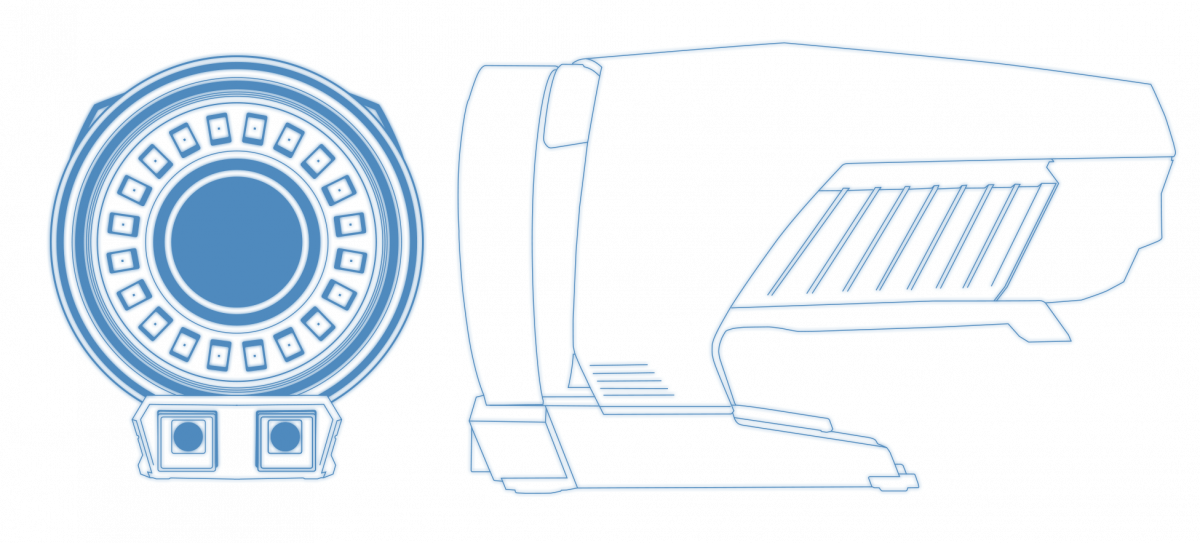
Technical Specifications
Discover how the MaxSHOT 3D measures up in terms of speed and accuracy.


Volumetric Accuracy(1)
0.025 mm/m
(0.0003 in/ft)
0.015 mm/m
(0.00018 in/ft)
Average deviation(2)
0.008 mm/m
(0.0001 in/ft)
0.005 mm/m
(0.0006 in/ft)
Volumetric accuracy (when combined with)
HandySCAN 3D BLACK Series (3)
HandySCAN 3D SILVER Series (3)
HandySCAN 3D SILVER Series (3)
0.020 mm + 0.025 mm/m
(0.0008 in + 0.0003 in/ft)
0.020 mm + 0.015 mm/m
(0.0008 in + 0.00018 in/ft)
Go!SCAN SPARK™(4)
0.050 mm + 0.025 mm/m
(0.0020 in + 0.0003 in/ft)
0.050 mm + 0.015 mm/m
(0.0020 in + 0.00018 in/ft)
HandyPROBE Next+™ (5)
MetraSCAN BLACK+™ (5)
MetraSCAN BLACK+™ (5)
0.035 mm + 0.025 mm/m
(0.0014 in + 0.0003 in/ft)
0.035 mm + 0.015 mm/m
(0.0014 in + 0.00018 in/ft)
HandyPROBE Next+™ Elite(5)
MetraSCAN BLACK+™ Elite(5)
MetraSCAN BLACK+™ Elite(5)
0.025 mm + 0.025 mm/m
(0.0009 in + 0.0003 in/ft)
0.025 mm + 0.015 mm/m
(0.0009 in + 0.00018 in/ft)
Weight
0.79 kg
(1.75 lb)
0.79 kg
(1.75 lb)
Dimensions
(LxWxH)
(LxWxH)
104 x 180 x 115 mm
(4.1 x 7.1 x 4.5 in)
104 x 180 x 115 mm
(4.1 x 7.1 x 4.5 in)
Operating temperature range
5-40°C
(41-104°F)
5-40°C
(41-104°F)
Operating humidity range
(non-condensing)
(non-condensing)
10-90%
10-90%
Certifications
EC Compliance (Electromagnetic Compatibility Directive, Low Voltage Directive), IP50, WEEE, Laser class (2M)
EC Compliance (Electromagnetic Compatibility Directive, Low Voltage Directive), IP50, WEEE, Laser class (2M)
(1) Based on the VDI/VDE 2634 part 1 standard. Performance is assessed with 35 lengths measurements taken on traceable artefacts (value = maximum deviation).
(2) Based on the VDI/VDE 2634 part 1 standard. Performance is assessed with 35 lengths measurements taken on traceable artefacts (value = average deviation).
(3) The volumetric accuracy performance of the system when using a MaxSHOT 3D cannot be superior to the default accuracy performance for a given model.
(4) The volumetric accuracy performance of the system when using a MaxSHOT 3D cannot be superior to the default accuracy
(5) The volumetric accuracy performance of the system when using a MaxSHOT 3D cannot be superior to the default volumetric accuracy performance for a given model.
Creaform’s worldwide support, repair, and calibration metrology centres
Creaform’s metrology centres are located around the world and offer the following services* in different languages:
Software and hardware technical support helpline
Portable CMM basic and advanced repair
* Services may vary depending on each metrology center.
Ask an Expert
Software and hardware technical support helpline
Portable CMM basic and advanced repair
Equipment maintenance, tuning and calibration
Loaner services
Portable CMM component replacement
Parts reselling
Warranty renewal
* Services may vary depending on each metrology center.
Developed using rigorous manufacturing processes
Creaform designs, manufactures, and calibrates the MaxSHOT 3D with the most sophisticated quality management system and according to internationally recognized standards, the ISO 9001 and ISO 17025.
The MaxSHOT 3D’s acceptance test are based on VDI\VDE 2634, a rigorous standard specifically designed to assess the performance of photogrammetry measurement systems.
Each MaxSHOT 3D is delivered with a personalized certification and fully documented test results.
Product and support based on international metrology standards
At Creaform, product and service quality is our top priority. Being pioneers in portable 3D measurement technologies, we are committed to exceeding our customer requirements by developing innovative solutions.
We are invested in continuously improving processes, setting new standards for the industry and ensuring full satisfaction of our clientele.


