September 20, 2024
Revolutionizing Custom Engine Fabrication with HandySCAN BLACK Elite & VXmodel See the article
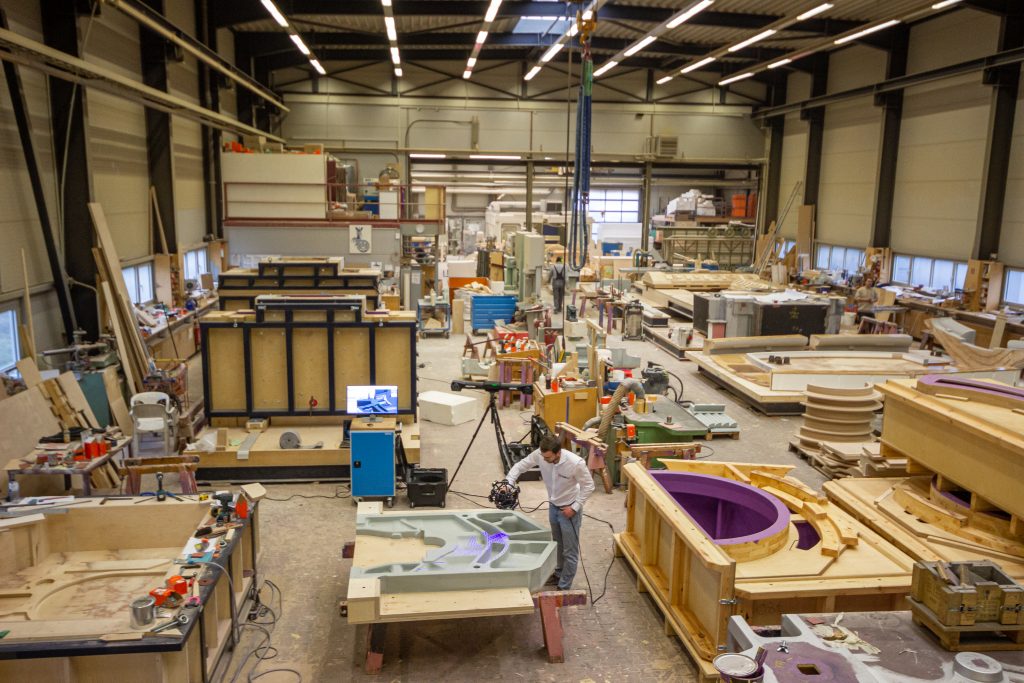
The core business of Duisburger Modellfabrik GmbH is the production of large foundry patterns made of wood, plastic block materials and foam for the manufacture of steam and gas turbines, engine beds, diesel engines and components for wind turbines in steel, gray or nodular iron castings.
More and more frequently, customers are requesting a comparison of the manufactured model equipment with the original CAD data. A model equipment consists of the model and core boxes. These later serve in the foundry as tools for creating a mold (individual parts, see picture). The digital surveying service was initially purchased externally by Duisburger Modellfabrik for their first few years of operation. The decision was soon made to purchase their own measuring system in order to reduce costs and avoid frictional losses between model builder and surveyor. Since the company manufactures components of several meters in length, width and height, it was important to find a 3D measuring system that could scan large surfaces quickly and easily. Of course, not at the expense of accuracy. Since the company did not have a dedicated measuring room, the measuring system had to be portable and able to withstand adverse environmental influences (dust, dirt, vibration)—in other words, the company would be able to use it virtually anywhere.
Implementation of the 3D Scanner in the Workflow
They settled on Creaform’s MetraSCAN 3D Scanner, an optical CMM scanner specifically designed for high-precision and repeatable metrology-quality measurements and 3D geometric surface inspection in manufacturing. The decisive factors were the flexibility of the scanner, the ability to digitize undercuts, and the possibility of virtual assembly.
Not all of the model fixtures need to be measured visually. But where necessary, these are scanned after completion of the individual components. When Duisburger Modellfabrik was still dependent on service providers, this was not possible. To make it worthwhile to travel to the site and hire a metrology service provider, a larger quantity of components had to be completed first to justify about three days of 3D scanning. But now, finished components are measured and shipped directly with the 3D scanner.
Herbert Schild, Managing Director of Duisburger Modellfabrik GmbH, notes: “Implementing the MetraSCAN 3D into our workflow, as well as training our staff, was very easy for us because our staff already had experience in CAD/CAM, so they already had an affinity for computer work. By scanning the unfinished parts, an optimal milling path can be programmed and many empty runs of the cutter can be avoided.”
3D Measurement of Unfinished and Finished Parts
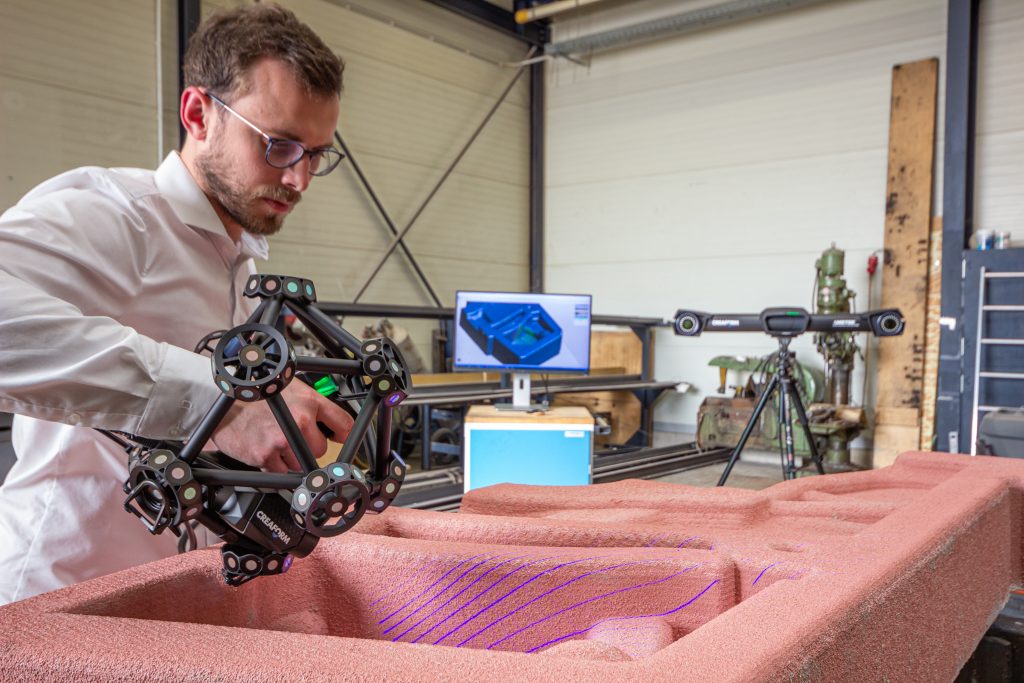
In this case, an unfinished part and, in a later step, the finished part for the model equipment of an engine (see picture above), had to be scanned. In theory, each Duisburger Modellfabrik GmbH project follows this pattern:
- Receipt of the customer’s finished parts data
- Creation of the data on the unfinished parts, placement of machining allowances and application of draft angles; these are necessary to get the model out of the mold or the core out of the core box.
- Creation of the model equipment using CAD
- Milling and building the model equipment
- 3D Scanning of the finished individual components with the MetraSCAN 3D
- Matching the data against the constructed data
- Comparison of the data against the customer’s finished parts data
- 3D Scanning of the finished casting
- Comparison of the casting against the customer’s finished parts data
 |
 |
|
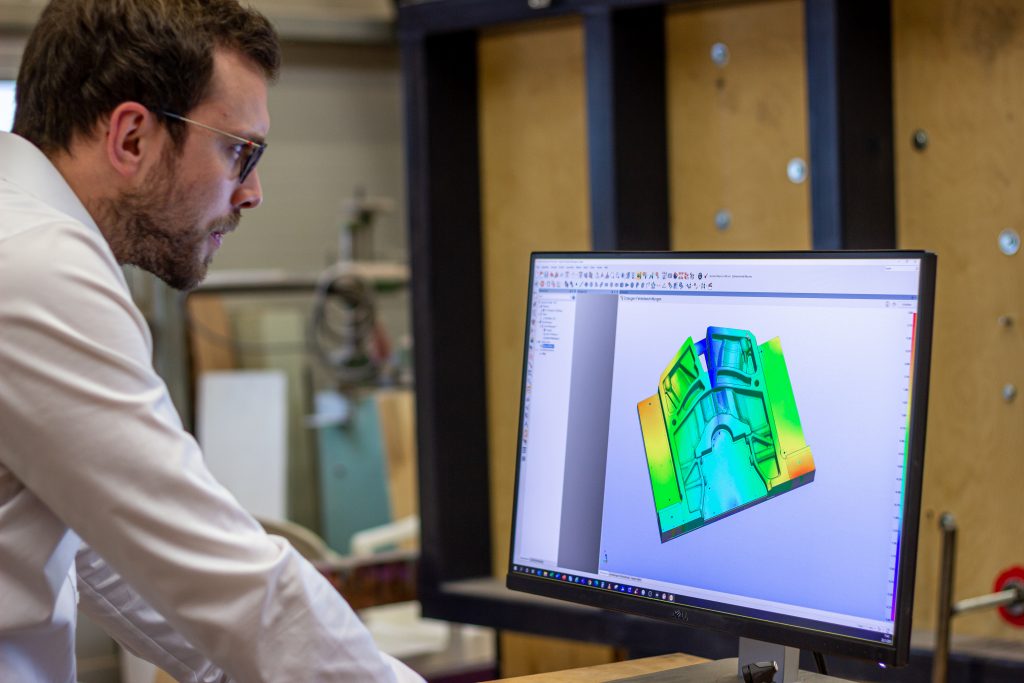
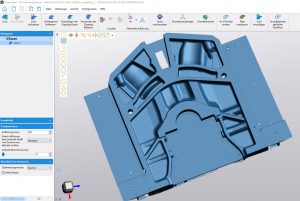
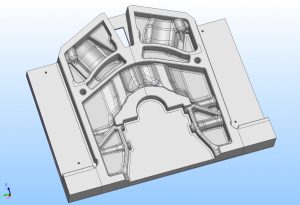
Scan data in VXelements and CAD of the model equipment |
|
Which Processes Does the MetraSCAN 3D Scanner Support at Duisburger Modellfabrik?
Quality Control
When creating the blanks, the MetraSCAN 3D is used for accurate digitization and subsequent geometric inspection by means of color comparison in InnovMetric’s PolyWorks software. Thanks to its portability, the measuring system can be brought to the component, and scan the latter quickly and accurately, regardless of its size. Even hard-to-reach areas such as pockets or shiny surfaces can be easily detected. It is not necessary to use a chalk spray.
Virtual Assembly
In addition, components can also be measured in the actual assembled state after they have been disassembled. This works through the intelligent use of the target model. This makes the comparison to the actual data much easier.
Engineering
Some prototypes need to be adjusted using CAD. The scan data enables easy adjustment and design in CAD, even for complex free-form surfaces. The .stl data makes this possible, even for more complex free-form surfaces in terms of reverse engineering.
CNC Programming
Of course, the final product is also digitized and checked for dimensional accuracy. However, the 3D data can also be easily used to program the milling machine. Thus, milling is not done “blindly,” which significantly reduces costs.
Satisfied Management
“Scanning with the MetraSCAN 3D offers great advantages for our company. Components with large dimensions can be scanned directly in their working environment very quickly and accurately. The flexibility, accuracy and performance of the measuring system are an ideal fit for our requirements and components, which change daily. We can therefore guarantee high quality and accuracy even for complex model equipments. Of course, by acquiring the measuring system from Creaform, we opened up new areas of business. This ranges from reverse engineering, to art, or to shipbuilding. In addition, we offer our customers scanning services in casting measurement. A portable system like Creaform’s MetraSCAN 3D helps us with this,” sums up Mr. Schild.

