- Article
- Related
Challenges: Is there a reliable technique to measure thickness loss on complex geometries?
The current manual techniques are not repeatable enough, as the measurements are too dependent on the technician's skills and experience. Indeed, if you were to have five different technicians make the same measurements, you will most likely get five different results. Therefore, safety factors are added, leading to a loss of confidence in the results.Why can't we rely on the pit gauge to measure thickness loss on complex geometries?
Although the pit gauge works relatively well on flat surfaces like floors and cylinders, it is unsuitable for complex curved geometries because it can only relate to a single contact point. Consequently, the contact point becomes subjective to the individual technician, meaning that the results will vary from person to person. Depending on the chosen contact point, subsequent measurements may all be biased. Therefore, relying on this tool to measure complex curved surfaces is hazardous.Why is the acquisition made with an ultrasonic pen probe also problematic for complex geometries?
The ultrasonic pen probe must be perpendicular to the surface for reliable measurements. As soon as there is an angle, the measurements become biased. Nevertheless, there is often a need for measurements in corroded areas where it is difficult to press the probe completely into the bottom of the damaged surface. Consequently, the problematic contact point between the probe and the corrosion pit can be enough to influence the results.How can we ensure the technician has acquired the deepest point?
Whether measured with the pit gauge or the pen probe, the acquisition of corroded areas is subject to the technician's judgment. Though technicians will measure what they believe to be the deepest points, the actual points might not be in the selected measured area.The only way to guarantee that the technician has measured the deepest point is to choose a measuring technique that acquires the complete corroded area. This is where 3D scanning comes to the rescue.
Solutions: User-independent, accurate, and easy-to-use 3D scanning systems with the Surface Damage Inspection Module
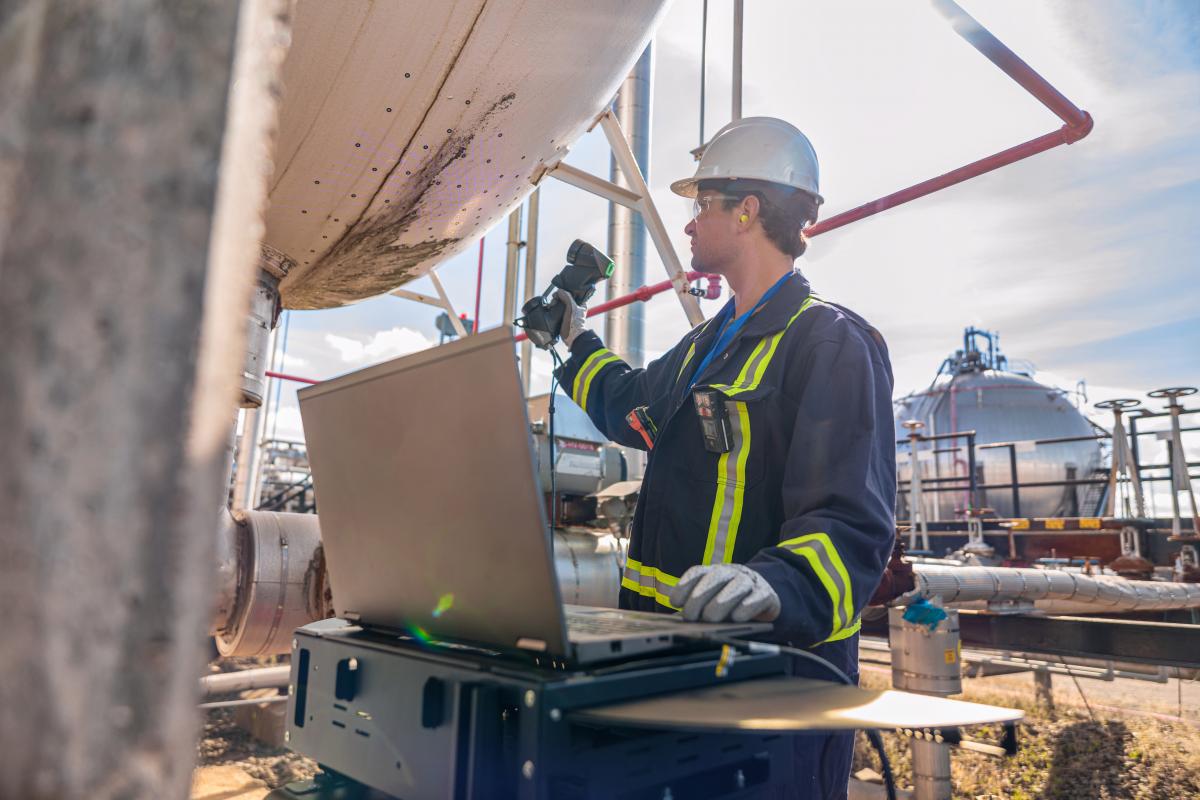
User-independenceWith 3D scanning, the acquisition is entirely independent of how the measurements are taken and how skilled the technicians are. The technique ensures that service companies can be certain they have obtained the same results regardless of the technician’s experience, allowing them to proceed with data acquisition and analysis with full confidence in their analyses.
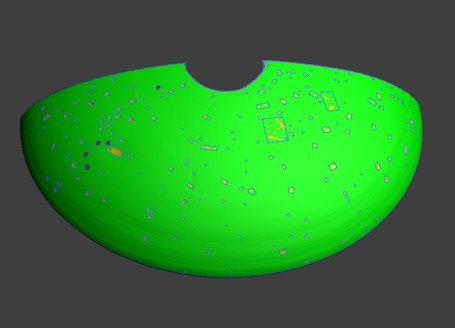
The Surface Damage Module models the entire surface of the corroded area, without any omissions. Using a mathematical algorithm based on the sound surfaces around the defect, the software automatically reconstructs a reference surface from which it can determine the thickness loss accurately and, foremost, repeatably.
Ease of use
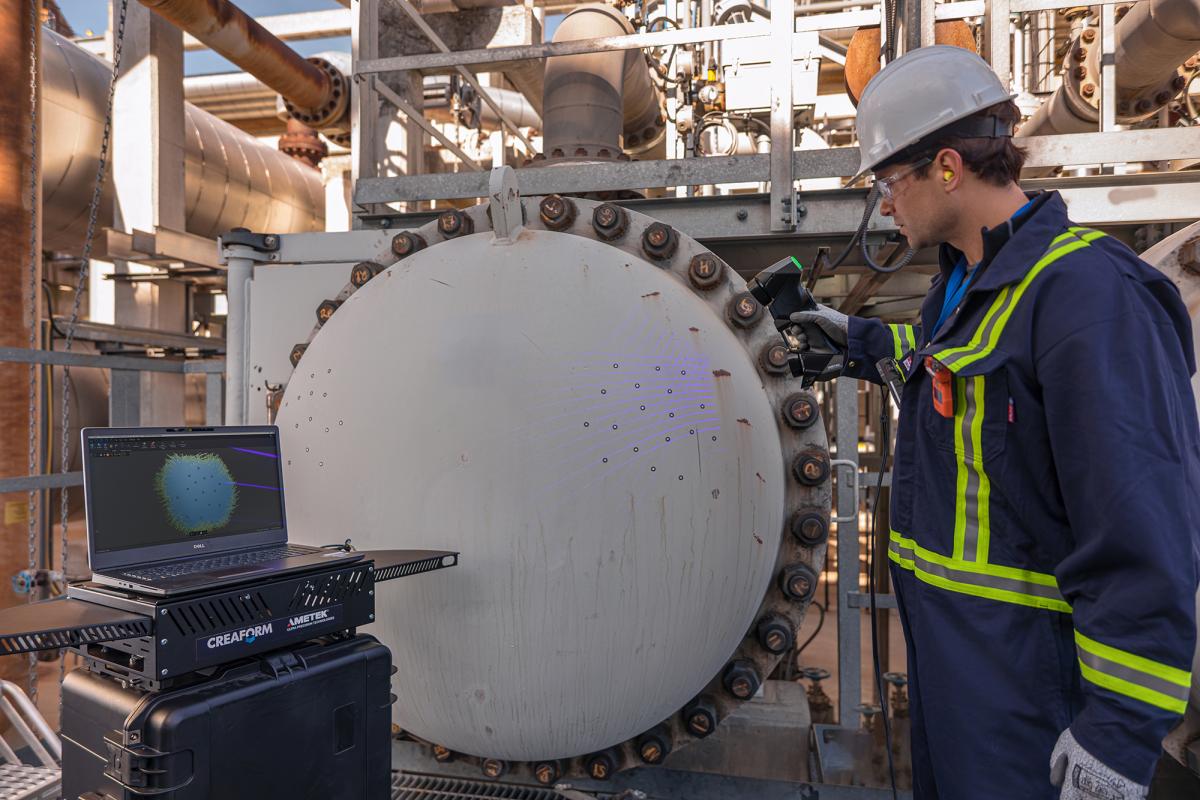
With plug-and-play devices, user-friendly interfaces, preconfigured parameters, and predefined workflows, technicians can now capture the deepest points of corroded, complex areas quickly and reliably. The Surface Damage Module is embedded in a minimal-step workflow that guides the user through the software. It offers comprehensive data visualization and automatic report generation, with the possibility to export the thickness grid profile of the corroded area. All of this combined makes the process more seamless and straightforward for asset owners and integrity engineers.
VXintegrity’s Surface Damage Module – equipped with the HandySCAN 3D|BLACK Series – represents the only technique available on the market that offers human-independent, accurate results that guarantee 100% surface inspection coverage.
Benefits: More accurate thickness loss assessment leads to time and money savings
VXintegrity’s Surface Damage Inspection Module, bundled with 3D scanning capabilities, delivers the most accurate measurements of thickness loss assessment on the market – with no possibility of human error – on curved and complex geometries, meaning that plant owners can feel secure when deciding to shut down their plant or refinery for maintenance work.
- Improved communication
With 3D scanning and VXintegrity, the entire corroded surface is measured and documented digitally, providing comprehensive data. VXintegrity generates automatic reports with thickness-mapping Excel grids that can be sent directly to experts for analysis, even if they are not present during the inspection. This facilitates communication with plant owners, who are constantly provided with the most reliable information.
- Confidence in the results
With 3D scanning, measuring corrosion on complex and curved geometries no longer depends on the technician’s skills and experience. Unlike the pit gauge and ultrasonic pen probe, 3D scanners deliver repeatable and accurate results that can be fully trusted, regardless of safety factors. Plant owners can now rely on inspection reports for assessment and repair decisions.
- Maintenance cost reduction
Infrastructure owners who tend to over-repair this type of damage now know precisely which structures are more problematic and must be repaired as a priority. They can now save on the maintenance costs of components deemed non-problematic during the inspection. Moreover, they can redirect these savings in time and money to more critical structures that require more attention.
NEED MORE INFORMATION ABOUT OUR SOLUTIONS?


