- Article
- Related
For several reasons, the role of a metrologist has evolved in recent years. First, metrologists must inspect increasingly complex parts, often composed of free forms and embellished with multiple finishes. These parts with complex geometries and finishes, however, no longer have the luxury of being inspected in the secure area of a metrology laboratory. Indeed, since recent shifts moved quality control to the production floor, quality control inspections are regularly entrusted to production-line operators, who generally do not have experience or expertise in metrology. Moreover, when they acquire the desired knowledge and skills to work with automated inspection equipment, these operators often gain new positions in the factory.
In short, there are more complex parts than before, but they are inspected by less qualified staff. This represents a whole puzzle that metrologists must now compose with.
Nevertheless, metrologists’ issues do not stop there. They do not have a second to lose. Because the quality control process is now implemented within production, they must control the quality of manufactured parts without altering the production rate. The inspection capability must now align with the production capacity. Measuring every feature required on one part, such as holes, points, or angles, with a high level of accuracy is now practically impossible without impacting the production pace. Those who risk it also risk creating conflicts with the director of production who wants to ship the manufactured parts to customers.
All of these are concerns that metrologists, previously working on their coordinate measuring machines (CMM) in a quality control laboratory, did not have to worry about in the past.
So, now that the quality control procedures have been moved to the production floor, how do we deal with the new complex equation of automated quality control in the era of the 4.0 industry?
How can we find a balance between rigorous quality control on parts with complex geometries and finishes and the less-qualified operators who are inspecting them? Is there a way to maintain a superior inspection quality while doing it fast enough to keep up with the pace of production?
Is There a Solution?
It turns out that, yes, there is! It allows metrologists to continue performing state-of-the-art quality control while creating alliances with the production department.
First, it is worth noting that the accuracy requirements are no longer required to be in the micrometer range. What we exclude from an extra degree of accuracy, which is not necessary to validate the quality of manufactured parts, we gain in speed of execution.
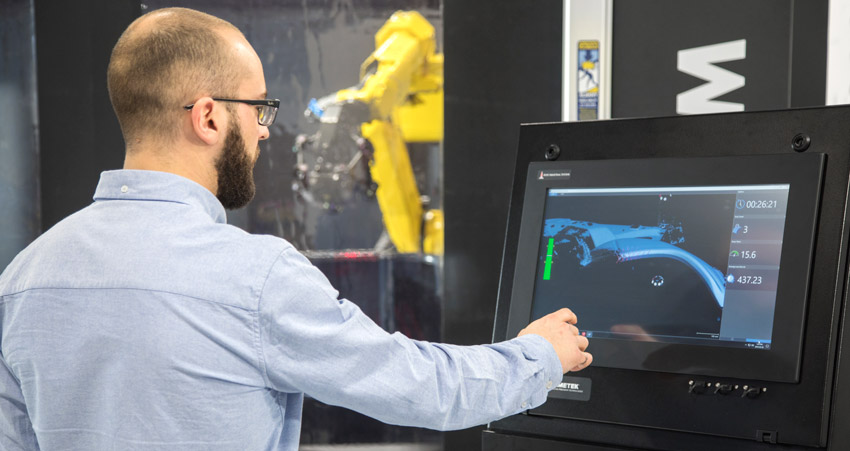
Second, the inspection is carried out by staff who are used to handling production equipment generally easy to understand and manipulate. Nevertheless, the quality control tools still need to be able to inspect parts with complex geometries and finishes while being simple and user-friendly while providing detailed analysis based on a large amount of data.
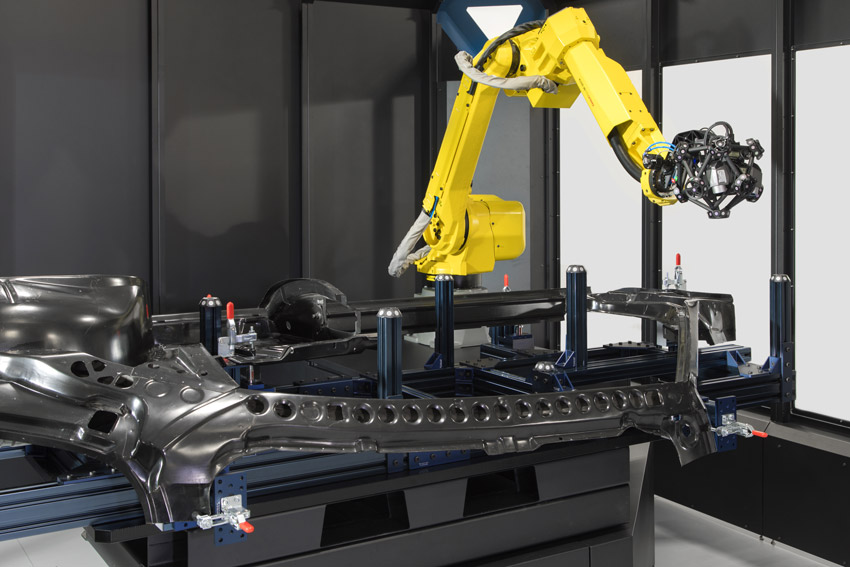
This is where automated 3D laser-scanning technology enters the conversation. It offers the following needed benefits while countering the potential problems we want to avoid.
Accuracy
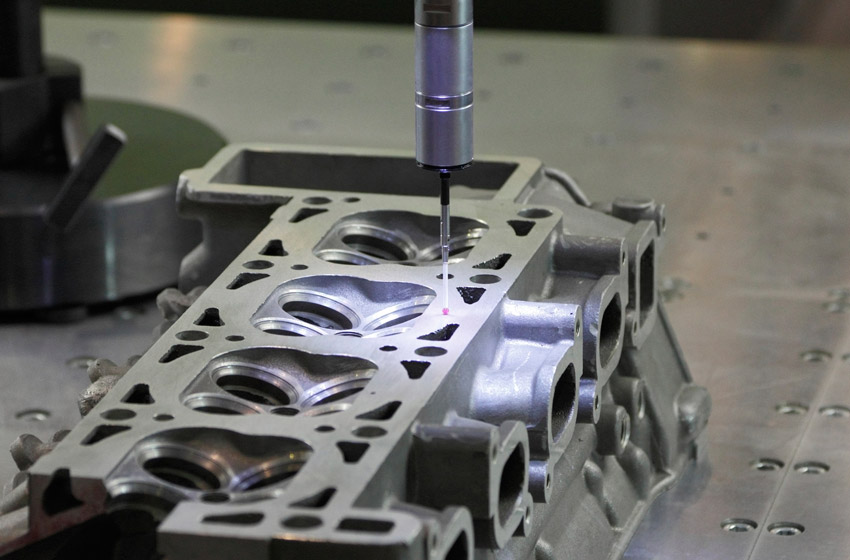
Optical technology enables metrologists to get a level of accuracy, which is very close to the one they are used to with traditional contact measurement solutions like CMMs. With optical CMMs, accurate and reliable measurements are possible because this technology enables measuring parts directly in the factory, on the production floor, without a rigid setup. Indeed, an optical CMM, made of an optical tracker and reflectors, delivers dynamic referencing by optically tracking the measured part and the measuring scanner, at the same time. Optical reflectors are used to create a reference system, which is locked to the part itself, so the object can move during the measurement sessions. Therefore, the measuring system provides that same level of accuracy, regardless of environmental instabilities and setup rigidity. This means that fewer alignments and manipulations are required, leading to less error accumulation and less pressure on the operators.
Thus, the quality control system can maintain a high level of accuracy. However, how fast can the inspections be performed?
Thus, the quality control system can maintain a high level of accuracy. However, how fast can the inspections be performed?
Productivity
Because of the recent improvements in 3D scanning speed, metrologists can perform more inspections per hour while increasing productivity. Moreover, the quality of manufactured products is improved. With more inspections per hour, problems, defects, and irregularities can be detected earlier. In addition, corrective actions in the manufacturing process can be identified and planned in advance.
So far, the productivity and the quality of manufactured products increase. Now, what about the skills needed to operate laser scanner robots on factory automation systems?
So far, the productivity and the quality of manufactured products increase. Now, what about the skills needed to operate laser scanner robots on factory automation systems?
Simplicity
Factory in-line inspections made with 3D measuring solutions integrate hardware, software, and kinematic parts of the robot. This means that any operator, regardless of their background and level of experience, can work with an automatic inspection machine. Everyone can now be comfortable using this inspection solution. It is simple; you just need to import the 3D model into the inspection software, define the inspection plan, and determine which geometric entity needs to be controlled.
In short, scanning technology makes it simple to perform inspections. But, how does the complexity of parts impact the quality control?
In short, scanning technology makes it simple to perform inspections. But, how does the complexity of parts impact the quality control?
Flexibility
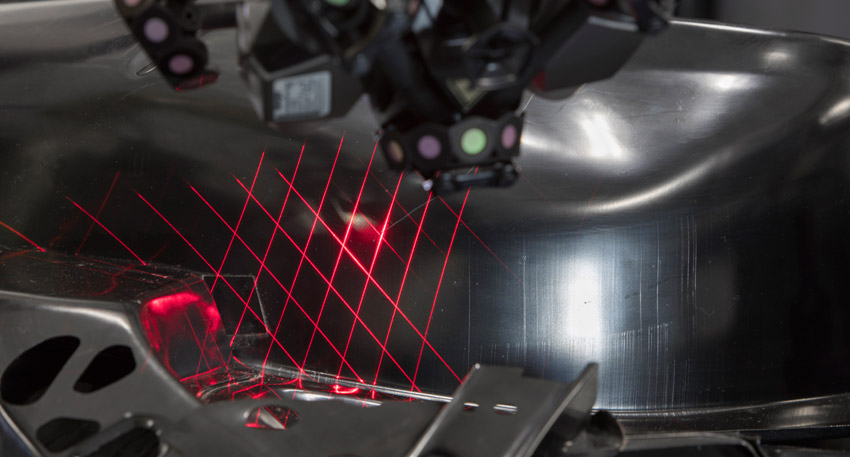
The geometries and finishes are now more complex. To treat complex surface finishes, such as shiny, matte black, or different colors, requires a flexible solution. Ideally, a single metrology tool with adjustable laser settings should be able to adapt to the part finish. And, to handle and control complex geometries, such as free forms, require capturing a lot of data. Ideally, a single solution should be able to capture a large amount of data in a very short time.
3D laser scanners, with their improved laser detection algorithms, are a metrology tool that offers the flexibility to measure different parts, regardless of their size, complexity, and varieties of finishes.
In summary, metrologists are struggling with many challenges in performing dimensional inspections. Nevertheless, there are now solutions that can ease their struggles and meet their important need for accuracy, productivity, simplicity, and flexibility.
Article written by Creaform
Published 04/15/2018
Published 04/15/2018
Recent Posts
Filters
Reset


