July 24, 2024
Improving Vessel Integrity at a Refinery thanks to Advanced 3D Scanning Technology See the article- 1 High-precision measurements, shorter surveying times and the rapid further processing of the data obtained convinced voestalpine Stahl.
- 2 Challenge: Higher Precision in Less Time
- 3 Solution: Portability and Accuracy – Without Compromise
- 4 Benefit: Scanning Anything Anywhere
- 5 Future Projects Involving 3D Measurement Technology
High-precision measurements, shorter surveying times and the rapid further processing of the data obtained convinced voestalpine Stahl.
As one of Europe’s major steel producers, the voestalpine Stahl GmbH is the lead company of the Steel Division and a supplier that renowned automotive manufacturers and other manufacturing companies can rely on. The Austria-based company also manufactures heavy plates and cast products for the most challenging conditions in the energy industry and provides customized solutions for expanding renewable energy.
In its quest to shape a clean future and achieve climate-neutral steel production, the global manufacturer of high-quality steel products is always looking for new measuring solutions to achieve better performance.
Recently, the international steel competence center of the voestalpine group had new requirements specific to reverse engineering and quality control applications. Suitability for working directly in harsh environments, compliance with the required standards for accuracy, and versatility with a wide variety of surfaces were essential parameters the new measurement system had to meet. Furthermore, simple and fast data post-processing was necessary for integration into existing processes. This blog reveals how Creaform 3D scanning solutions answered the voestalpine Steel Division’s need for enhanced accuracy, versatility, and efficiency.
Challenge: Higher Precision in Less Time
The search for a new measurement system came from the desire to fully engage in the digital world, which could not be fully achieved with the existing measuring method. This demand was particularly manifest in reverse engineering and quality control.
First and foremost, the measuring tool had to be insensitive to vibrations. In addition, it needed to be portable so it could be carried wherever required. Measurement time also had to be reduced as much as possible, especially when measuring shiny surfaces where it had to show absolutely no difficulties.
With this new technology, the Steel Division could contribute further to voestalpine’s sustainability and technological innovation as a global steel and technology group.
But could the team find a 3D measurement solution to meet all these requirements?
Solution: Portability and Accuracy – Without Compromise
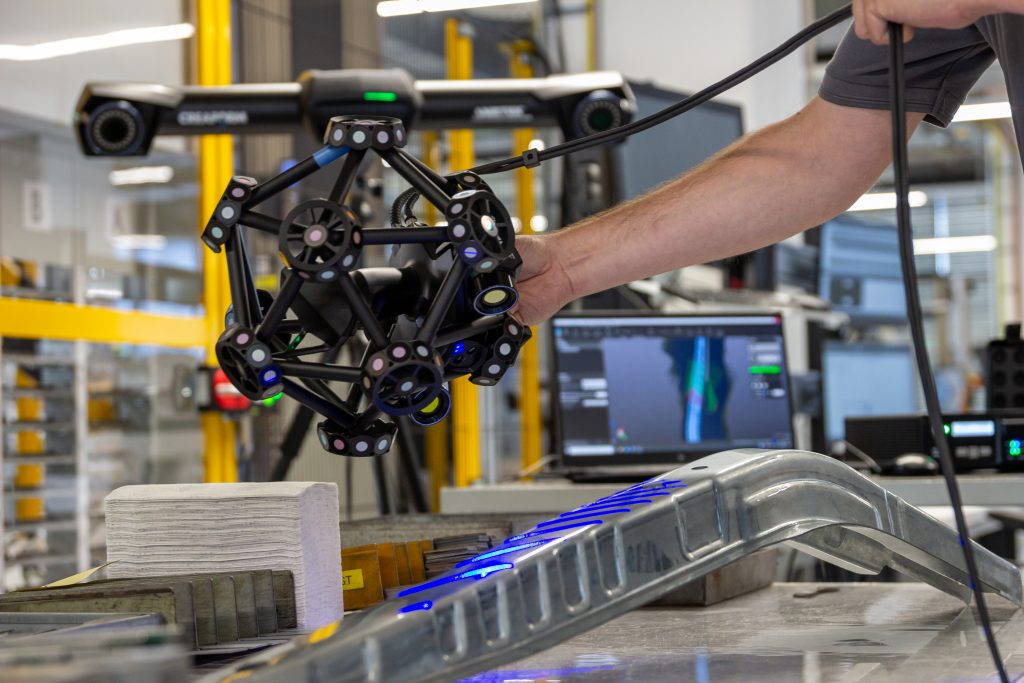
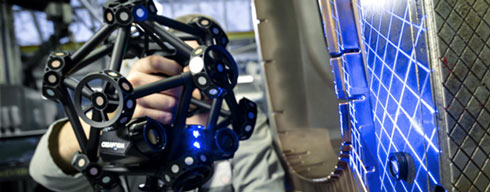
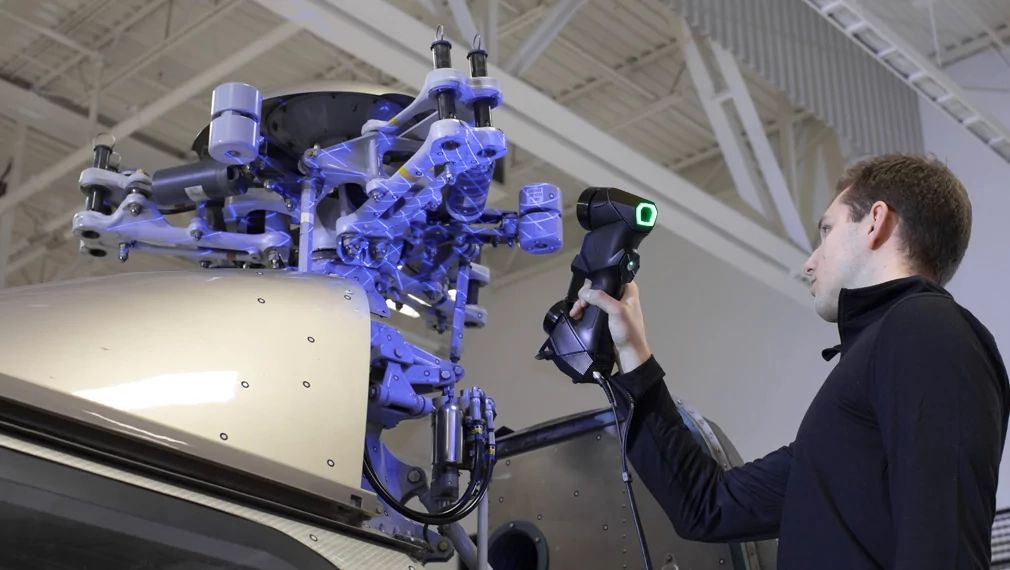
Because of their unrivalled accuracy, impressive handling of reflective surfaces, and legendary portability, the Steel Division of voestalpine Stahl GmbH decided to opt for the HandySCAN 3D | BLACK series and MetraSCAN 3D scanners as well as the HandyPROBE tactile measuring tool. The combination of these portable 3D scanners and CMM can cover a broad spectrum of measurement tasks and applications. This range includes everything from scanning tiny components, such as gear profiles, to parts of a whole system.
Creaform 3D scanning systems are now mainly used in reverse engineering to create technical drawings for spare parts based on the scan data and in quality control to compare the scan data with the CAD and determine if components deviate from their technical drawing.
Benefit: Scanning Anything Anywhere
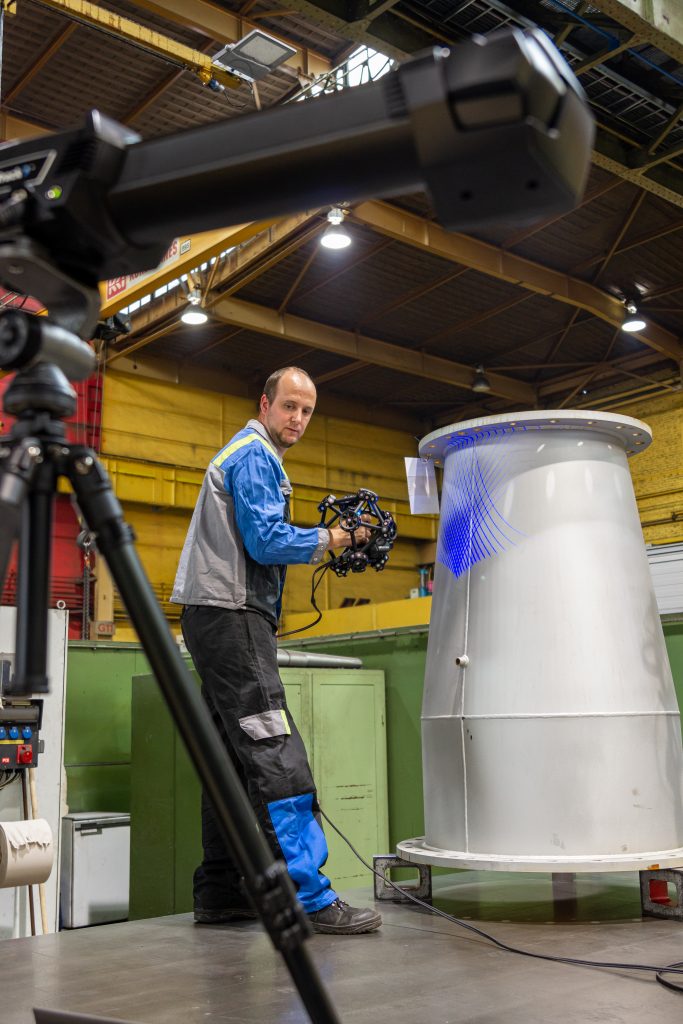
Since adding Creaform 3D scanning solutions to their workflow, the Steel Division has noticed notable improvements in measurement accuracy and has significantly reduced its measurement time. The performance of the 3D scanners was particularly striking when measuring complex surface finishes and geometries in various sizes.
In quality control, castings can now be measured entirely with the MetraSCAN 3D and HandyPROBE to create complete technical documentation. In reverse engineering, components that did not have original data or CAD available can now be recreated with Creaform 3D scanning systems and Geomagic Design X, from which technical drawings for production can be derived.
Moreover, the simple and easy data post-processing made the integration of measurement results into the existing workflow seamless. The portability of the 3D scanners also made it possible to use them directly on the production floor, where vibrations and oscillations are ubiquitous, and to carry them effortlessly to the workshop or measuring stations.
Future Projects Involving 3D Measurement Technology
Based on these results, the usefulness of Creaform 3D measurement technologies will soon be expanded to other areas, including inventory tracking and retrofitting system parts, reverse engineering of unique machine components, and quality control of components produced in-house or externally. We believe the benefits will be just as convincing as those obtained so far.
Read more about voestalpine Steel Division’s applications and 3D scanning solutions.

