- Article
- Related
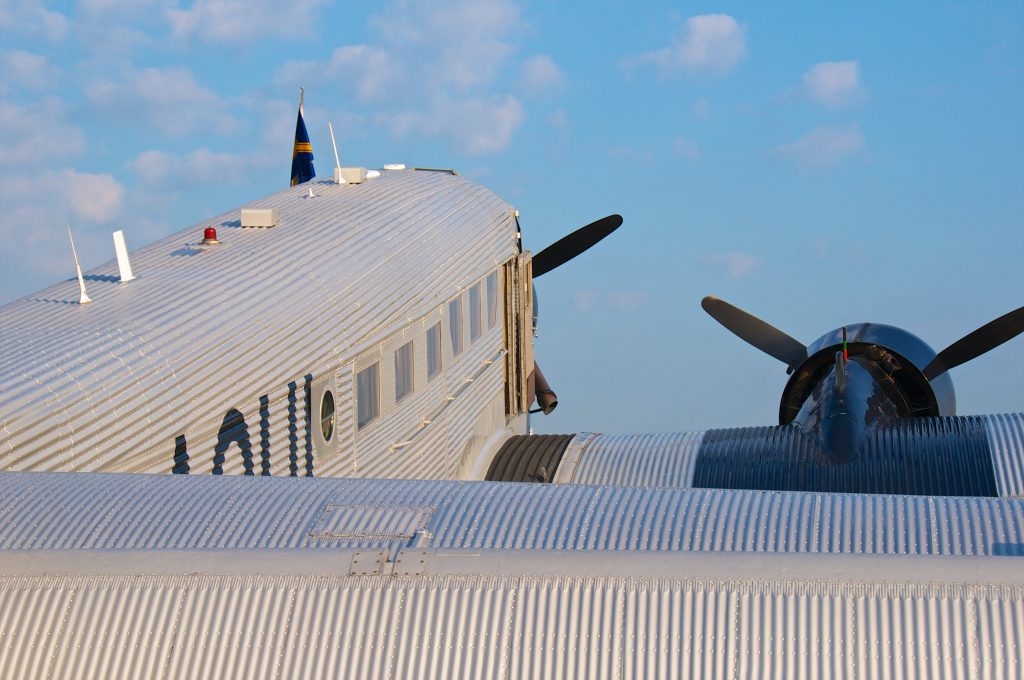
The JUNKERS Flugzeugwerke AG in Widnau, Switzerland, has set itself the task of reviving old traditional aviation brands. Originally based in Dessau, Germany, the JUNKERS Flugzeugwerke AG boasts a tradition dating back well over 100 years. It was founded by Professor Hugo Junkers (1859 to 1935) who, with his versatile patents, had a lasting influence on the development of aviation in the 20th century.
Present-day JUNKERS Flugzeugwerke in Widnau achieved its first major milestone with the airworthy replica of a Junkers F13. In September 2016, this dream came true with the maiden flight of a replica of the first all-metal commercial aircraft, which has been delighting aviation enthusiasts around the globe ever since. In 2018, the small series production of the Junkers F13 was launched.
The year 2019 marked the beginning of the modernization of the JU 52, the second major project of the JUNKERS Flugzeugwerke AG, with the goal of getting “Old Auntie Ju” approved to carry passengers again, thus restoring another highlight of aviation history.
Requirements for a 3D scanner
In this project, however, a new JU 52 was to be rebuilt on the basis of the historic JU 52 but adapted to today’s aircraft standards. One of the main challenges was to capture a complete aircraft using 3D measurement technology from both the inside and the outside. This task was performed by an external surveying company.
However, as the project progressed, detailed images of individual parts or small subcomponents were increasingly needed to reproduce reliable and accurate design data. It was therefore decided to procure an easy-to-handle 3D scanner that would meet as many quality requirements as possible:
- Scan quality: accuracy, repeatability, flexibility in terms of scanning resolution.
- Mobility: the entire hardware had to be safe and practical to transport.
- Handheld system: the scanner needed to be as small and easy-to-handle as possible so that accurate scans could be generated, even in convoluted sections, without having to dismantle any components.
- Reliable hardware: the hardware needed to be able to withstand, to a certain degree, the daily stresses that occur in a workshop (e.g. dirt, dust, vibration). Of course, this is on the assumption that the equipment would also be sufficiently protected, cleaned and treated with care.
- Operating software: the software used to generate, view and process the scans needed to be user-friendly and stable.
- Compatibility: the operating software had to be compatible and work with common computer operating systems. Similarly, it also needed to allow for the export of generated 3D scan data into common file formats to ensure smooth operation.
- Maintenance: ideally, maintenance after purchase needed to be straightforward and cost-effective. Specifically, this would apply to the quick availability of spare parts (if needed) and good customer service on the part of the manufacturer or distributor.
Since we already gained some experience through a partner company with the HandySCAN 3D from Creaform and were thus already impressed by the product, we decided to purchase this system. In addition, an important argument was the fact that the scanner is also suitable for precision 3D measurements”, explains Romario Odermatt, Certification Coordinator at JUNKERS Flugzeugwerke AG.
The integration of the 3D scanner was simple and easy-to-understand for computer-savvy individuals. For people with less experience, more time had to be invested in training. Nevertheless, in the end all those involved were able to generate usable 3D scans.
The integration of the 3D scanner was simple and easy-to-understand for computer-savvy individuals. For people with less experience, more time had to be invested in training. Nevertheless, in the end all those involved were able to generate usable 3D scans.
Using the HandySCAN 3D for measuring individual parts in a subproject
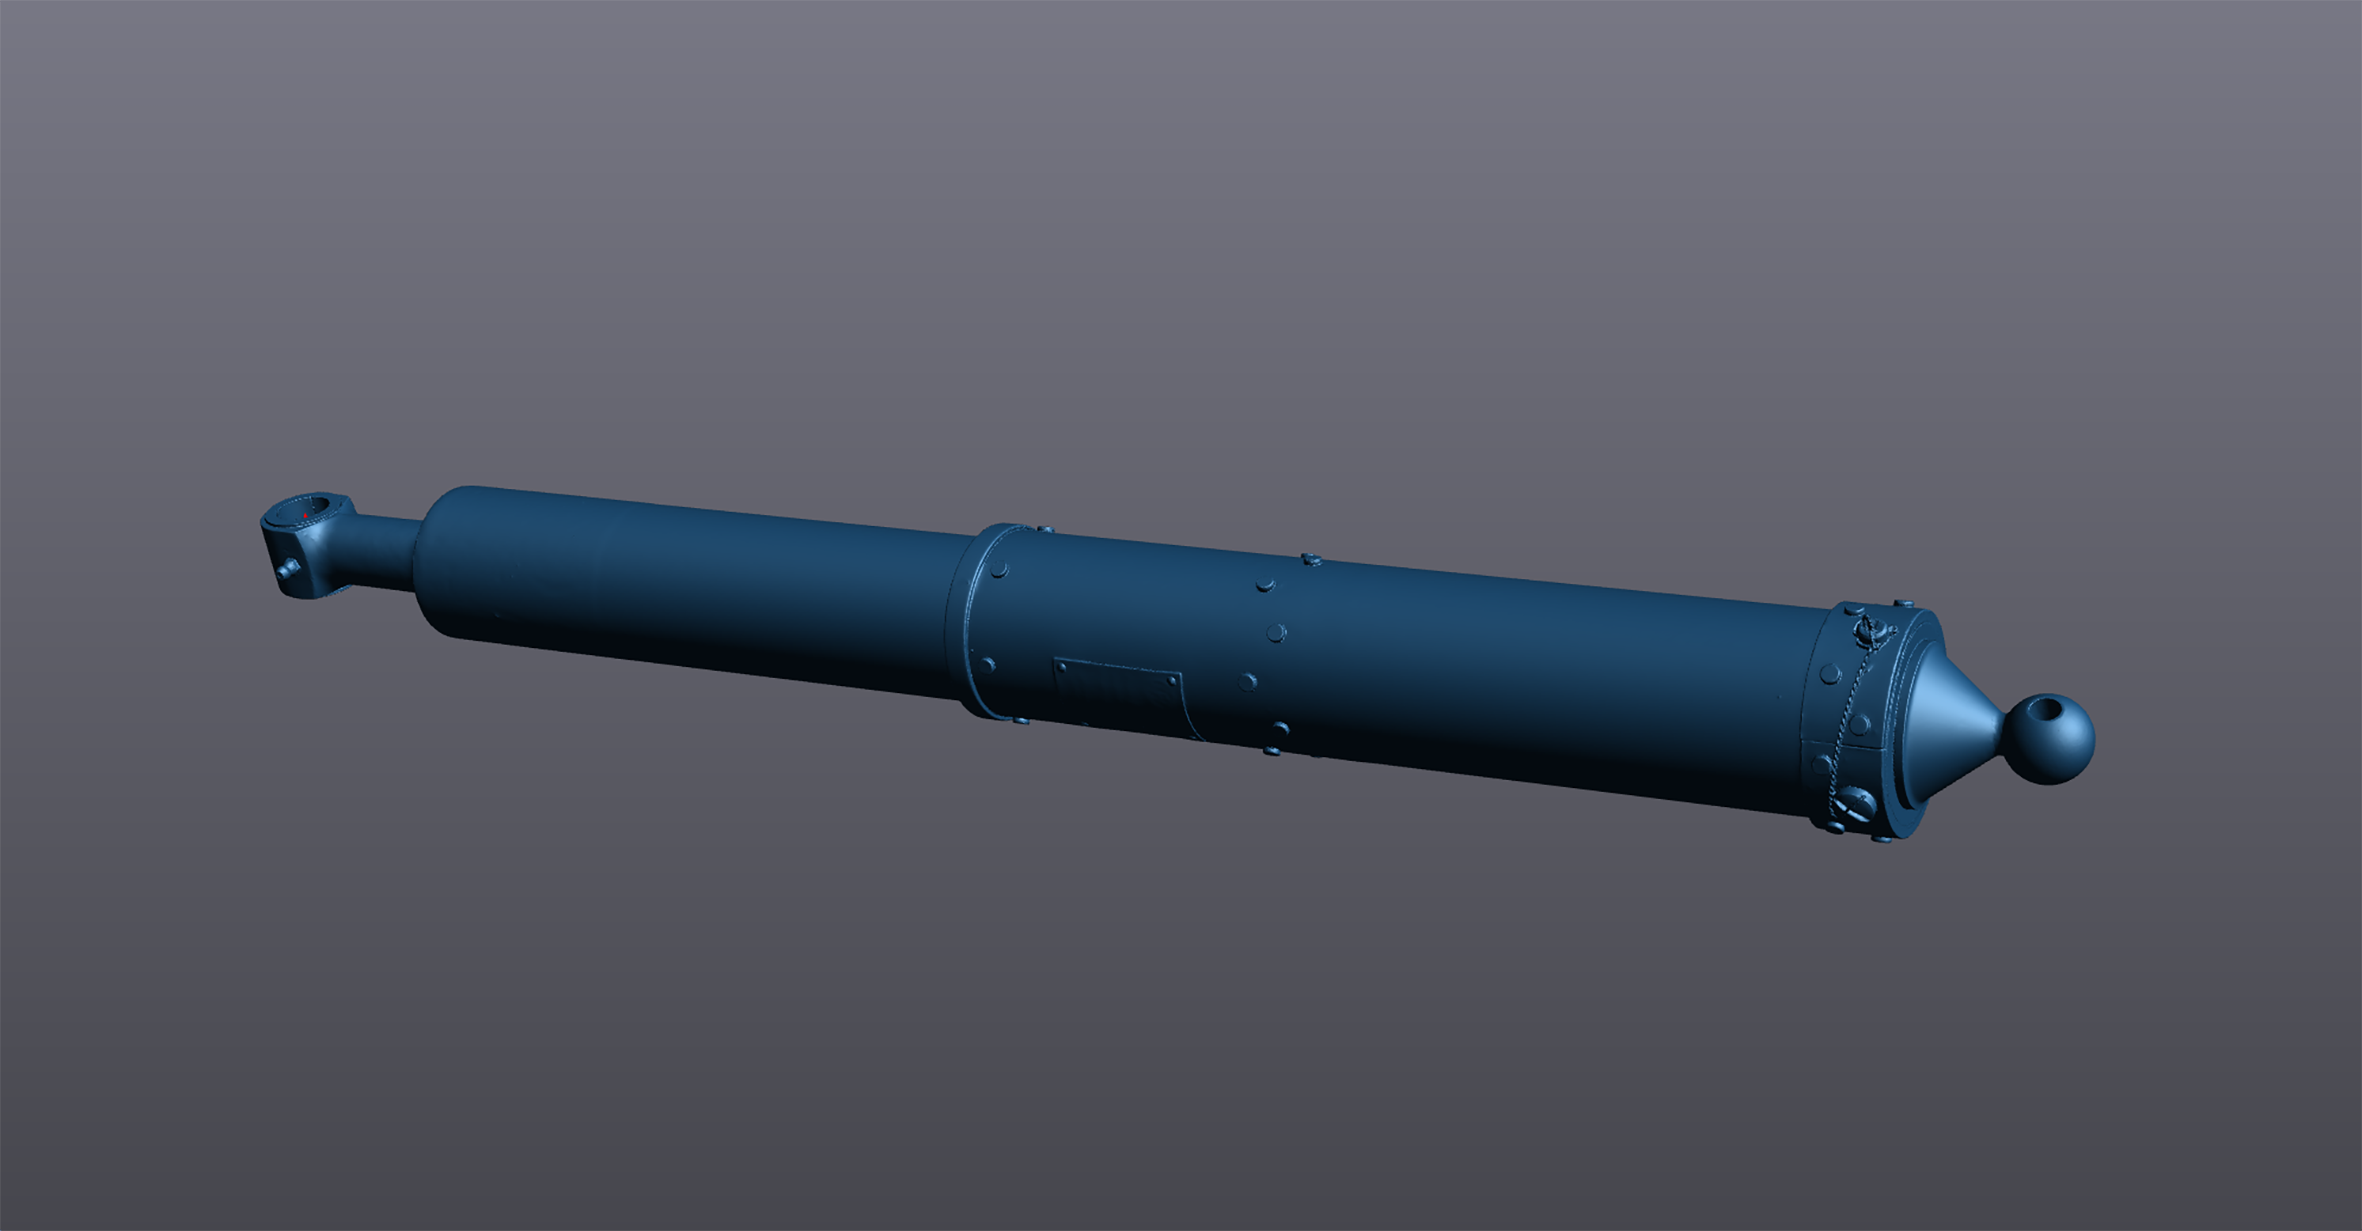
As part of the rebuild of the JU 52, a 3D model of the shock absorbers on the rear chassis had to be generated.
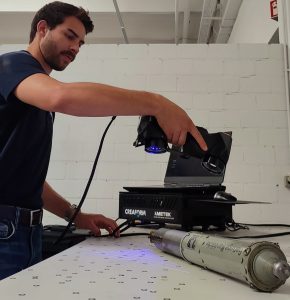
For this, a shock absorber from the original JU 52 was scanned using the HandySCAN 3D and the 3D-Scanningsoftware VXelements. Using the VXmodel scan-to-CAD software module, the scan data were finalized and prepared for reverse engineering and the shock absorber reconstructed. In this specific example, the connection points are of particular interest. The connection points must be recorded very accurately because these, as well as their counterparts, need to be reproduced precisely. For the rest of the shock absorber, the rough dimensions are sufficient, since the replica will use a new design.
For this, a shock absorber from the original JU 52 was scanned using the HandySCAN 3D and the 3D-Scanningsoftware VXelements. Using the VXmodel scan-to-CAD software module, the scan data were finalized and prepared for reverse engineering and the shock absorber reconstructed. In this specific example, the connection points are of particular interest. The connection points must be recorded very accurately because these, as well as their counterparts, need to be reproduced precisely. For the rest of the shock absorber, the rough dimensions are sufficient, since the replica will use a new design.
Together with additional 3D scans of the adjacent individual parts, CAD software can be used to overhaul and optimize the original design according to today’s industry standards, if required. This benefits safety and weight optimization.
At JUNKERS, simple individual parts are usually measured and reproduced using conventional measuring instruments. For more complex shapes, Creaform’s HandySCAN 3D is used. Sometimes, however, smaller assemblies are scanned to obtain a digital representation, which can be used for visualization of the project or as a template for engineering work.
“Thanks to 3D measurement technology, it has been possible to simplify our re-engineering processes significantly while increasing their quality. Overall, this has resulted in high-quality baseline data, which significantly simplifies the subsequent work steps and reduces the workload for any design revisions,” explains Mr. Odermatt. “Without Creaform measurement technology, the project would probably have taken considerably longer, and we would have needed more staff for the data acquisition. With the HandySCAN 3D, Creaform has created a high-quality, accurate product which is versatile enough for a variety of engineering tasks and with which high-quality 3D files can be created quickly.”
Article written by Creaform
Published 11/29/2022
Published 11/29/2022
Recent Posts
Filters
Reset


